How to Install Raspberry Pi OS on Your Raspberry Pi
Get the new official Raspberry Pi OS on your Pi.

Raspberry Pi OS, a new update and name change for the classic Raspberry Pi operating system Raspbian, was recently announced by the Raspberry Pi Foundation. The Raspberry Pi OS is immediately installable and includes everything you’ll need to support the new Raspberry Pi 4 8 GB module. There are several options for installing the new operating system.
Before you update to the new OS, make a backup of your current Raspberry Pi image in case something goes wrong. For assistance with this operation, see our guides on how to back up your Pi image on Windows or Mac.
JUMP TO STEP:
1. Install using Raspberry Pi Imager

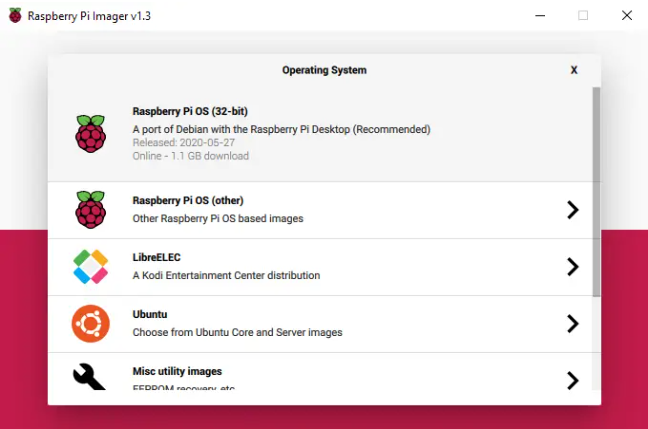
Using the Raspberry Pi Imager, you may quickly install Raspberry Pi OS. This is an official imaging application that makes flashing a microSD card considerably simpler and more pleasant to novice users. A detailed description of how to use the Raspberry Pi Imager here.
- From the Raspberry Pi downloads page, Raspberry Pi downloads page for your operating system.
- To finish the installation, run the installer and follow the prompts.
- Click Choose OS in Raspberry Pi Imager.
- Choose Raspberry Pi OS from the drop-down menu.
- Select Choose SD card and choose the microSD card you want to flash the new OS to and tap Write.
You can connect your microSD card to the Pi and boot it up after the imager is finished.
2. Using third-party imaging software

You can also write the Raspberry Pi OS image to a microSD card using third-party imaging software. Connect the Raspberry Pi to your computer after turning it off and removing the SD card.
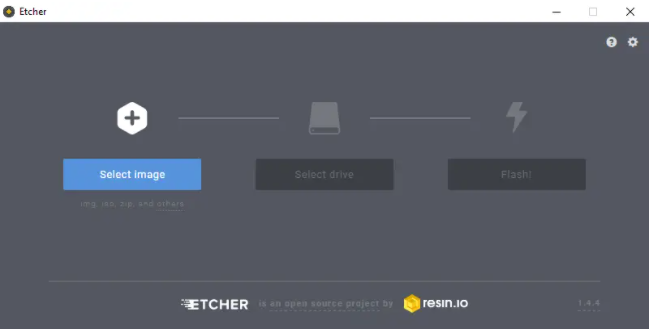
When it comes to imaging software, there are various possibilities. Etcher is a popular tool that is known to function well with Raspberry Pi images. This program can be used to flash any image compatible with your Pi’s microSD card.
- Choose an imaging application to download and install.
- The Raspberry Pi OS image can be downloaded from the Raspberry Pi downloads page.
- Set the microSD card to the one you want to use for your Pi and point the imager to the Raspberry Pi OS image file.
- You can test the image after it has been flashed by attaching it to the Pi and attempting to boot it.
3. Troubleshooting
While trying to set up the new Raspberry Pi OS, you’re likely to run across a few snags.
OS Not Loading
If the Raspberry Pi OS image fails to boot, reformat the SD card and try again. If the computer still won’t boot, make sure the SD card is big enough. You could try reinstalling Raspbian Buster to see if the problem is with the OS or the Pi hardware.
Incompatible Software
Some software may be incompatible with the new operating system. You can either wait for the program’s makers to upgrade it to work with the new changes, or you can go back to an older edition, such as Raspbian Buster.
In this tutorial, we are gonna show you how to install Retropie on your Raspberry Pi 4:
Imaging Issues
If you get an error when trying to image the microSD card, look up the error code online to figure out what the issue is. If you can’t locate anything related to your problem, make sure your microSD card can handle the Raspberry Pi OS. Before attempting to reimage the card, you might want to try formatting it.