How to Install a New Graphics Card in PC
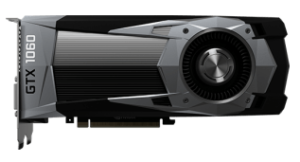
Do you want to install your new computer’s graphics card? You may believe that this is tough or that it needs some technical knowledge. But it’s actually quite simple. You should be able to set up your graphics card on your computer if you follow the instructions below.
To install a graphics card
Step 1: Preparation
Make sure that the new graphics card you’re intending to utilize is compatible with your computer’s hardware.
You must open your computer casing to check your hardware. Here’s how to go about it:
1. Turn off your PC, then disconnect all the cables and the attached devices from it.
Tip: It’s a good idea to label your cables so you can rejoin them afterward.
2. In the side panel, Remove the screws.
Tip: The panel you need to remove is usually on the left-hand side (if you’re facing the front panel).
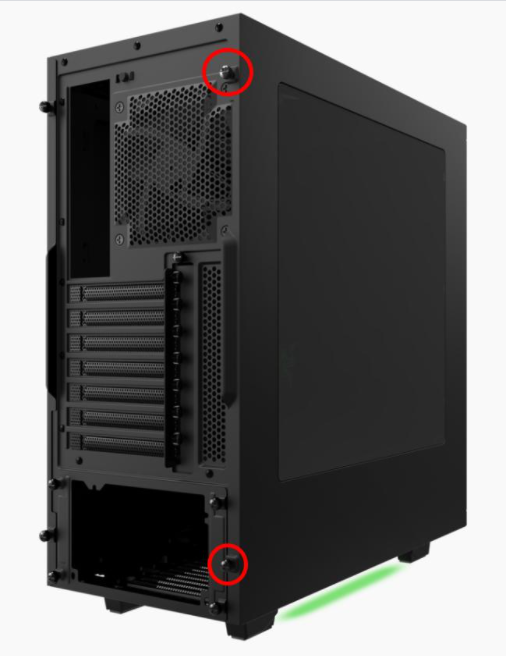
3. Remove the side panel.
You’ve successfully opened your PC case. You should also be able to inspect the internal components of your computer.
There are a few other things to consider:
1. Your computer power supply
It’s possible that a more powerful graphics card will use more electricity. So, if you’re adding a new graphics card to your computer, check sure your power enough to supply unit to handle it.
You should perform some Internet study to find out what your graphics card’s system power requirements are. Then open the computer casing and look at the sticker on the power supply unit for information of how much power it supplies.
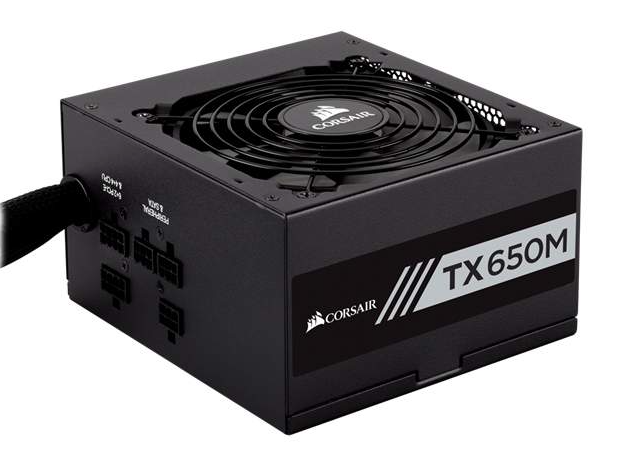
If your power supply unit can’t handle the graphics card you’re planning to use, you should either upgrade it or choose a graphics card that uses less power.
2. Your motherboard
Check your motherboard to determine if your graphics card is compatible with it.
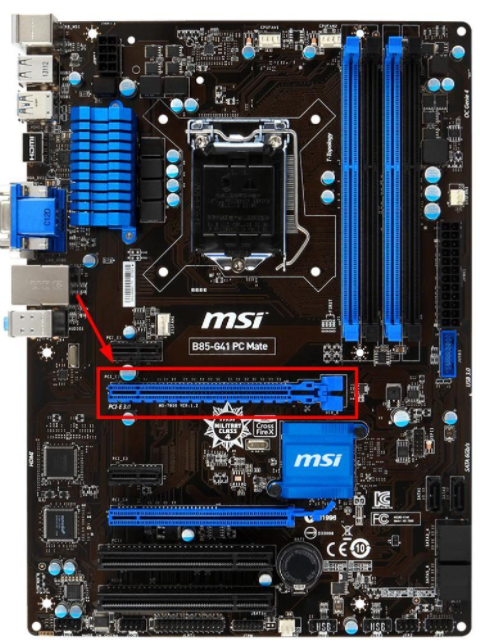
Check to determine if your motherboard has PCI Express x16 slots, which will allow you to attach your graphics card to it. If you’re intending to use two or more cards, it should have more than one slot.
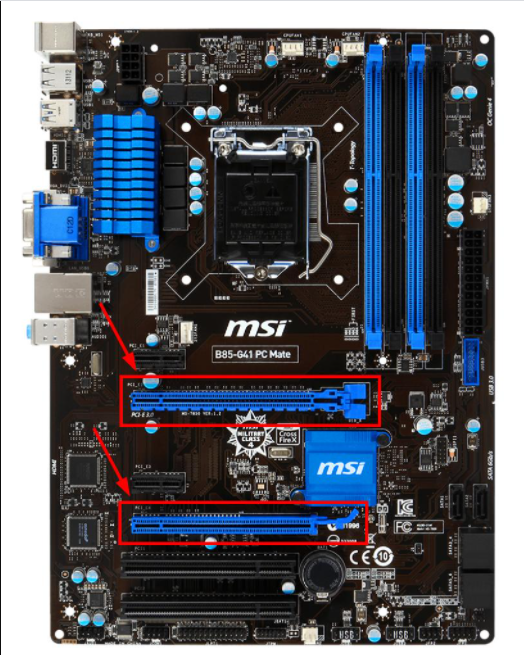
If you’re upgrading your graphics card, you should take out the old one and replace it with the new one in the same slot.
3. The space inside your computer case
Your new graphics card must be fit in the case of your computer. If you’re using a small case, we recommend upgrading to a larger one, not only because you’ll be able to install your graphics card, but also because your hardware will be kept cooler.
If everything is in working order, the following step is to install the graphics card on your computer.
Step 2: Install the graphics card
Here’s how to install your new graphics card:
1. Turn off your PC, then disconnect all the cables and the attached devices from it.
Tip: It’s a good idea to label your cables so you can rejoin them afterward.
2. In the side panel, Remove the screws.
Tip: The panel you need to remove is usually on the left-hand side (if you’re facing the front panel).
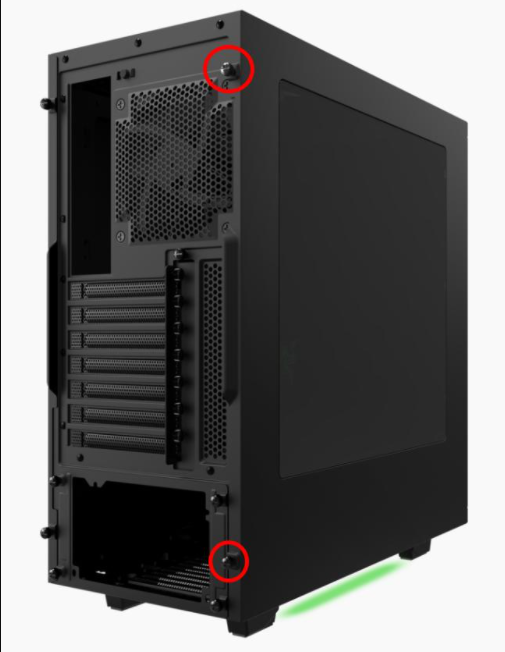
3. Remove the side panel.
4. If you have an old graphics card, remove it.
5. On your computer case, if you have a graphics card installed, remove the slot cover.
Note: The slot covers are situated adjacent to the PCI Express x16 slots on your motherboard. You’ll also need to remove two covers if your graphics card is double-wide.
6. Connect the new graphics card to the PCI Express x16 slot on the motherboard (often the closest one to the CPU).
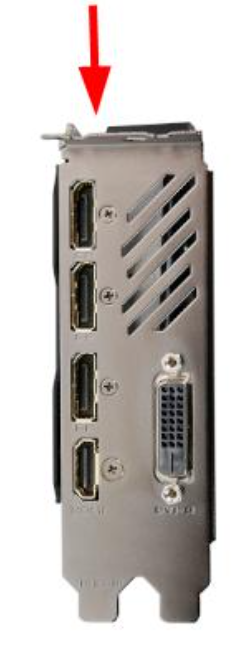
7. Screw your graphics card to the case of your computer.
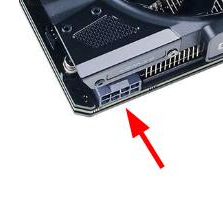
8. Connect the 6-pin or 8-pin power connector from your power supply unit to your graphics card if it requires independent power.
Note: Examine your graphics card’s top edge. If a power port is visible, your graphics card will require its own power supply.
9. Reinstall your computer case’s side panel.
10. Connect your graphics card to your monitor with a video cable.
Check your monitor’s video ports to see whether they’re compatible with the ones on your new graphics card. The following are some of the most common video connection standards:
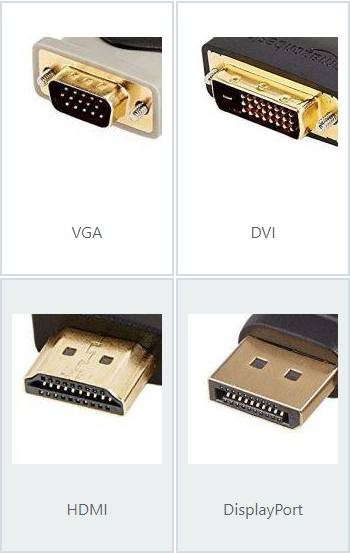
Note: If the video ports are incompatible, you may need to purchase a video output adapter to convert your video signal and connect to different ports.
11. Connect all of the other wires that were unplugged before.
You can now start your PC. You should be able to see your computer functioning, but it isn’t correctly shown since you don’t have the correct graphics driver loaded.
Step 3: Install the driver for your graphics card
The driver can be installed using the software disc that came with your graphics card. However, the driver it installs may not be the most recent version, and you need to update it to guarantee that your graphics card is functioning properly.
If you are busy, patience, or skills to manually upgrade your graphics driver, Driver Easy can do it for you.
Driver Easy will automatically detect your system and locate the appropriate drivers. You don’t need to know what operating system your computer is running, you don’t have to worry about downloading and installing the wrong driver, and you don’t have to worry about making a mistake during the installation process.
You can use either the Free or Pro version of Driver Easy to download and install your drivers. However, with the Pro version, it simply takes two clicks (with full support and a 30-day money back guarantee):
1. Download and install Driver Easy.
2. Run Driver Easy and select Scan Now from the menu. After that, Driver Easy will check your computer for any problematic drivers.

3. You may manually install the newest and right driver for your graphics card by clicking the Update icon next to it. You can also click the Update All button in the bottom right corner of the screen to automatically update all outdated or missing drivers on your computer (this requires the Pro version; you will be requested to upgrade when you click Update All).
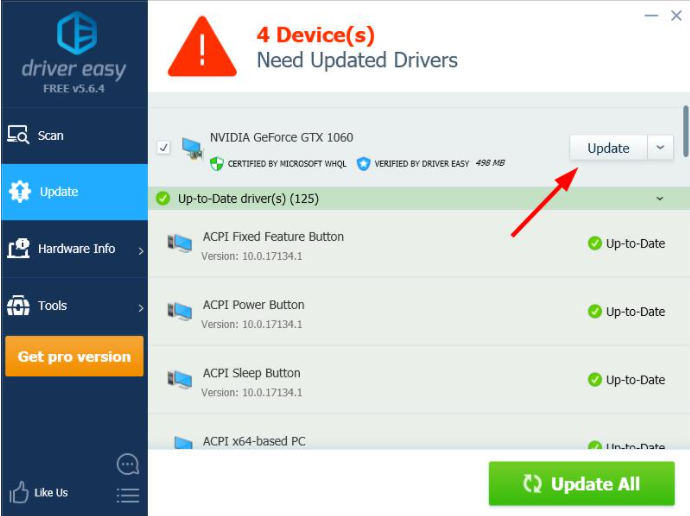
Restart your computer after you’ve updated your graphics card. After that, you should be able to see your system properly displayed.
That concludes our discussion. It’s time to put your new graphics card to work! Also, if you have any questions, please put them in the comments section below.