How to change your Apple Watch band
In this tutorial, learn how to change your Apple Watch band.
The Apple Watch gives a statement. It demonstrates that you are up to date on the latest technology. It also demonstrates your sense of style, but you can amp it up even further with interchangeable watch bands.
Changing the band on your watch is simple, and we’ll show you how. If you’re having trouble, we’ll even give you some tips. However, you are free to choose any band that appeals to your sense of style.
Prep the surface
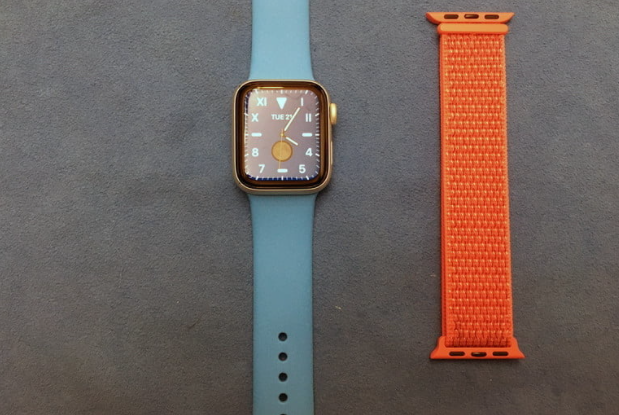
Prepare a soft microfiber cover on a stable table before you begin working on your watch, as illustrated above. This keeps the watch face from being scratched by accident.
Release the old band
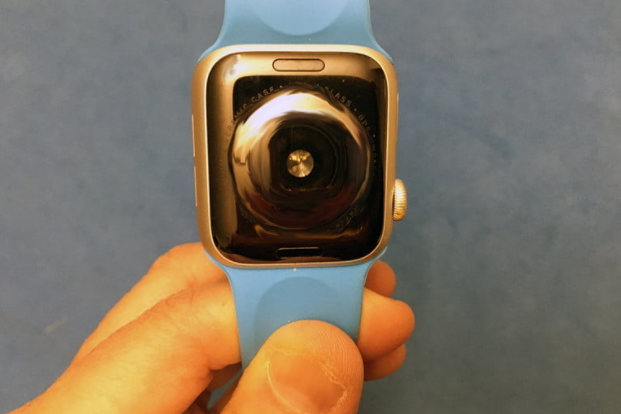
1. The watch has two thin elongated oval release buttons, one at the top and one at the bottom, which we can see when flipping the watch. Before continuing next, make sure you have the watch securely in your hand or set it face down on the soft cloth surface.
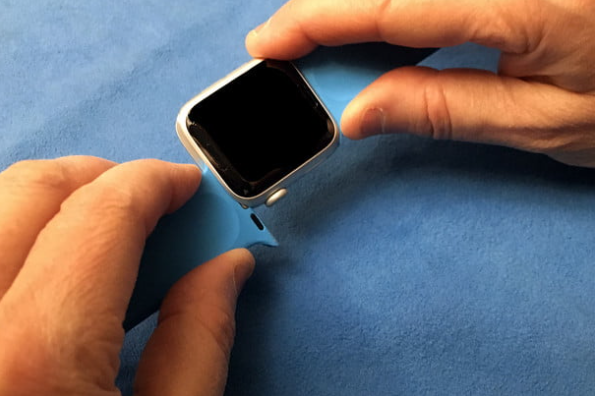
2. Shift the band to the right or left by holding down either release button until it slides off the watch body, as shown above.
3. Rinse and repeat for the other watchband.
If you have problems removing the band, keep pressing the button down and try again. Some bands are simple to remove, while others, especially if there is a buildup of gunk, can be exceedingly difficult.
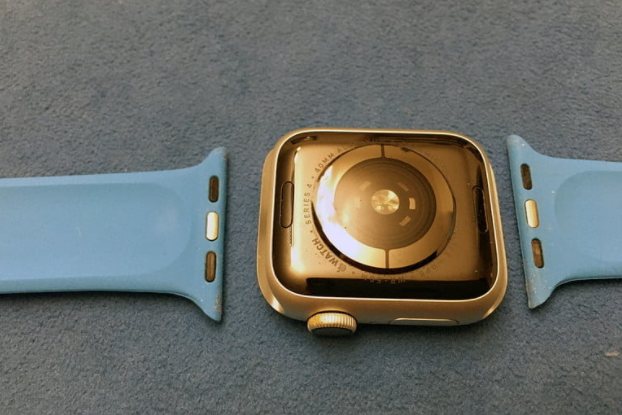
Finally, your Apple Watch should look like the limbless model shown below.
Add the new band
You’ll notice a small piece of plastic in the center of the new band if you look closely. This piece moves into a little lock on either side of the watch body when you insert the band, securing the band.
As a result, slip the replacement band into position until you hear a click, indicating that the proper is properly fastened. However, keep reading for the detailed instructions.
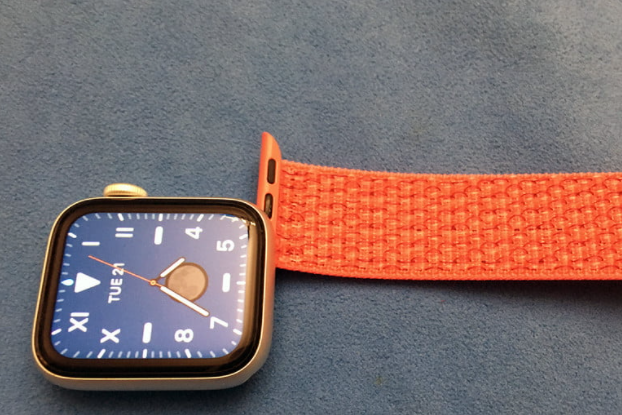
1. To begin, you must understand how to properly position the new band. If not properly fastened, certain bands have a loop or other characteristic that can be flipped upside down or put on backward. If you’re installing a loop band, make sure both sides of the band are aligned with your watch.
2. Place your new watch band in the appropriate notch. When you hear a clicking sound, you know it’s linked. To make sure the band is fully attached, gently twist it from side to side, but don’t hit the release button while checking. Your band should not sway in any way.
3. Carry on with the same procedure on the other side.
One of the most crucial things to do before putting on your Apple Watch is to double-check the firm of your new band’s connection. If you don’t make sure the band is secure, your watch may fall off and break or become lost. Even after you’ve double-checked the band and placed it on your wrist, wriggle it a little to make sure it’s secure.
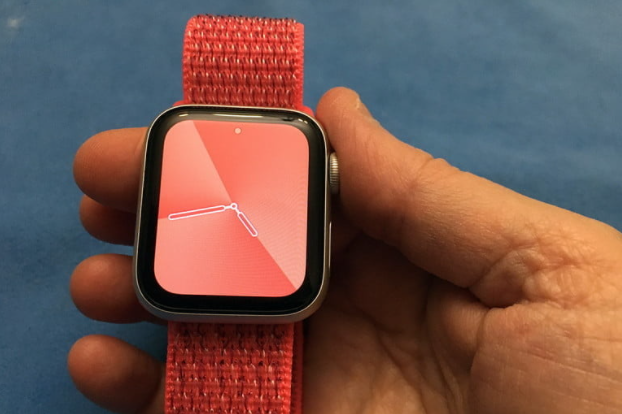
Don’t be concerned if accessories are an important component of your ensemble. Apple offers a gorgeous collection of bands in a variety of vibrant and muted colors, patterns, styles, and materials. With a variety of watch and strap combinations, you can match your Apple Watch to your clothing, a particular occasion, or the season. Remember that the method you change them can differ, so read over the mechanics of each design to see what works best for you.
In this video, we are gonna show you how to change Apple Watch band (Series 4/5/6 or ANY):
That’s about it.