How to Create a Gantt Chart in Google Sheets
How to Create a Gantt Chart in Google Sheets

A Gantt chart is a form of bar chart that shows how a project’s schedule is broken down into tasks or events and displayed against time. A useful tool in Google Sheets is the ability to construct a Gantt chart for your project.
Create a new spreadsheet in Google Sheets.
To begin, create a tiny table and fill in the cells with a few headings. You’ll need one for tasks, as well as a start and finish date. Fill in the information of the project in each cell. This is how it should look:

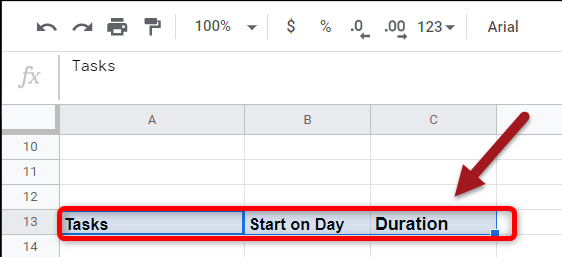
Then, beside or beneath the previous table, create a similar table that will be used to calculate the graphs in each section of the Gantt chart. The table will have three headers to construct the Gantt chart: tasks, start day, and duration (in days) of the work. This is how it should look:
After you’ve set up the headings, you’ll need to calculate the start date and duration. The heading “Tasks” will be the same as before. If you like, you can just copy the cells below, reference them directly, or rewrite them.
To compute “Start on Day,” find the difference between the start dates of each task and the first task’s start date. To do so, convert each date to an integer and then subtract it from the start date of the first task: ( <TaskStart> – <FirstTaskStart> ). It will seem as follows:
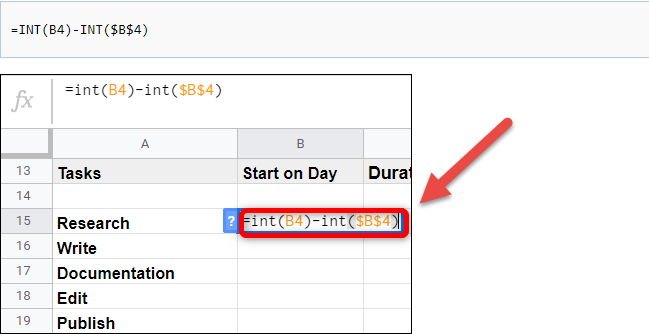
The <FirstTaskStart> in the formula will always be an absolute value. When referencing a value in Google Sheets, the dollar sign ($) character is used to “lock” a row or column—or both, in our case.
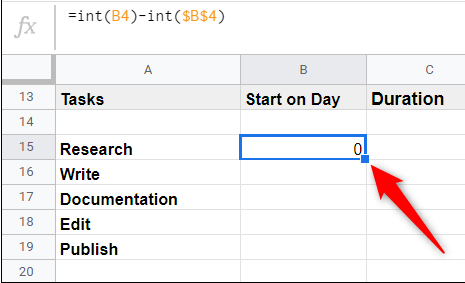
So, when we replicate the same formula for consecutive cells (which we will do in the following step), the dollar will sign ensures that it always refers to the number in B4, which is where the first task begins.
Click on the cell again after pressing the “Enter” key, and then double-click the little blue square.
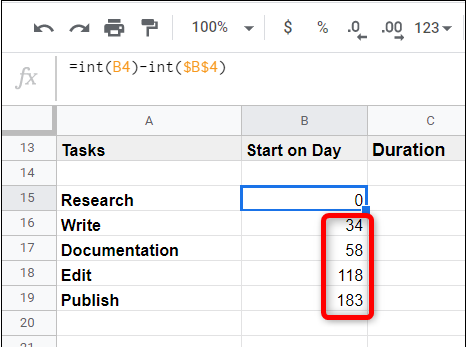
Sheets will use the same formula for the cells directly underneath, completing the sequence, but making sure to reference the proper cell above.
To calculate the duration, you must first figure out how long each task will take. This formula is a little more difficult because it looks for the difference between several more variables. The formula like the format (<CurrentTaskEndDate>-<FirstTaskStartDate>)-(<CurrentTaskStartDate>-<FirstTaskStartDate>) and will look like this:
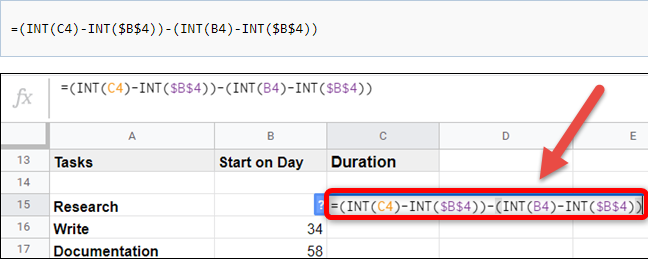
As before, when referencing a date format in a formula, you must convert it to an integer. The dollar sign characters are also used to refer to variables that will remain the same across all cells.
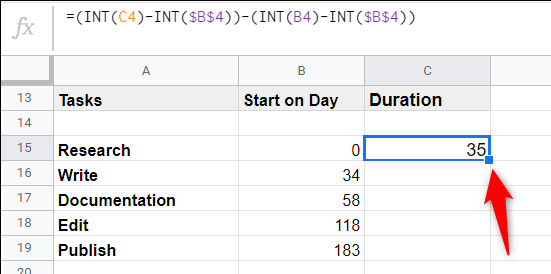
Click on the cell again after pressing the “Enter” key, and then double-click the little blue square.
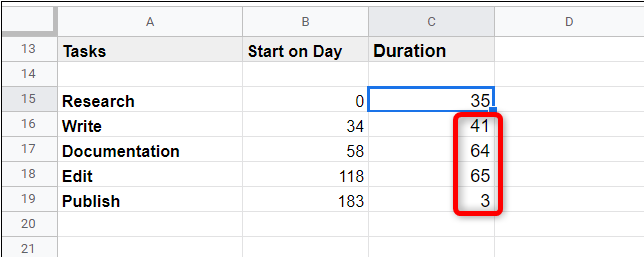
Sheets automatically fills in the remaining cells for you.
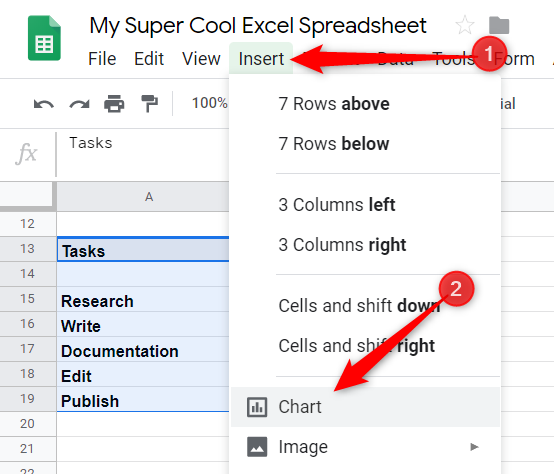
The full table should be highlighted.
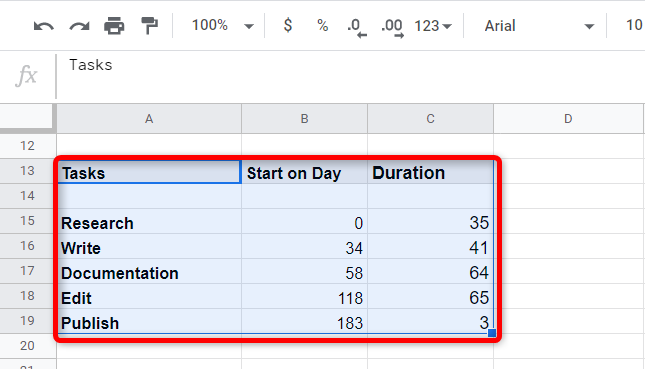
Then, tap Insert > Chart.
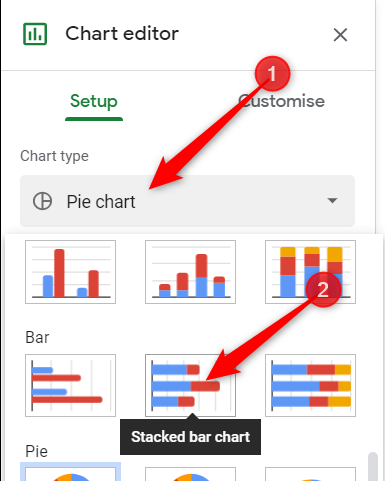
Click the drop-down box under “Chart Type” in the Chart Editor pane on the right of the window, scroll down, and select “Stacked Bar Chart.”
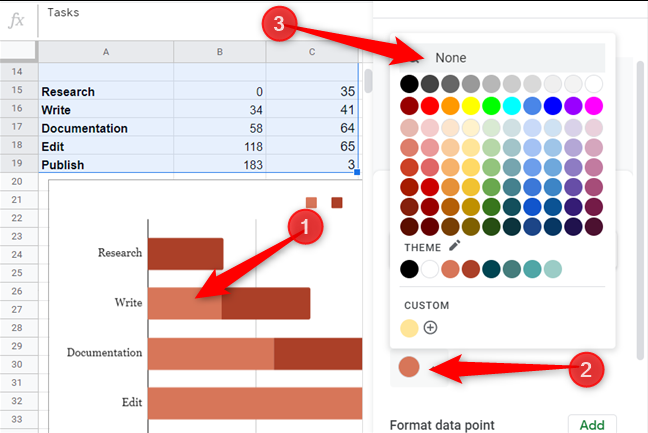
Tap on any of the light red bars, click on the color selector, and then pick “None” from the top of the color selector.
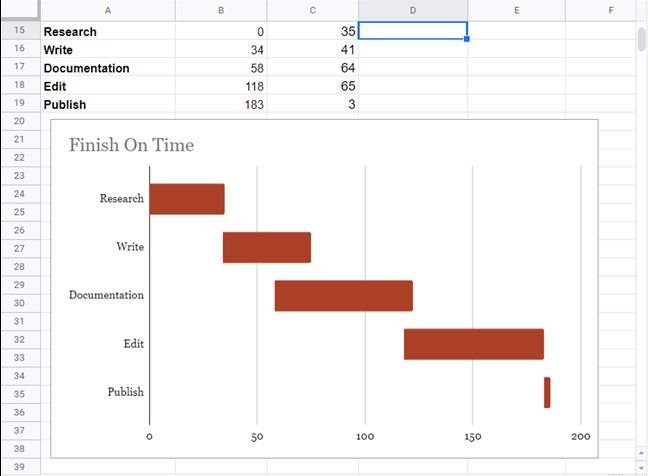
After that, go to the Chart Editor pane’s “Customize” tab, choose “Chart & Axis Titles,” and give your chart a name.

So there you have it. You now have a fully functional Gannt chart that is updated in real time.